Connect Flowfinity records to Power BI using the Export Automation Interface
Flowfinity's Export Automation Interface allows external reporting apps, such as Power BI, to download records from a View to run reports. With this technique it is possible to retrieve data from multiple Flowfinity Actions apps and Views and join them within Power BI to create reports and data visualizations. The Export Automation interface can return data in CSV or PDF format, in this example we will use the CSV format to synchronize data with Power BI.
Once the initial synchronization is configured, you can set up a periodic refresh in Power BI to automatically update your Power BI report with the latest data from Flowfinity Actions.
Follow these steps to configure a View, connect the View to Power BI and retrieve data, and configure an automatic refresh of your dataset. You can also try it here.
Instructions – Part 1: Flowfinity
- Create a dedicated view to act as a data source for Power BI.
Note: If you already have an existing app View, follow the steps below to enable Export Automation.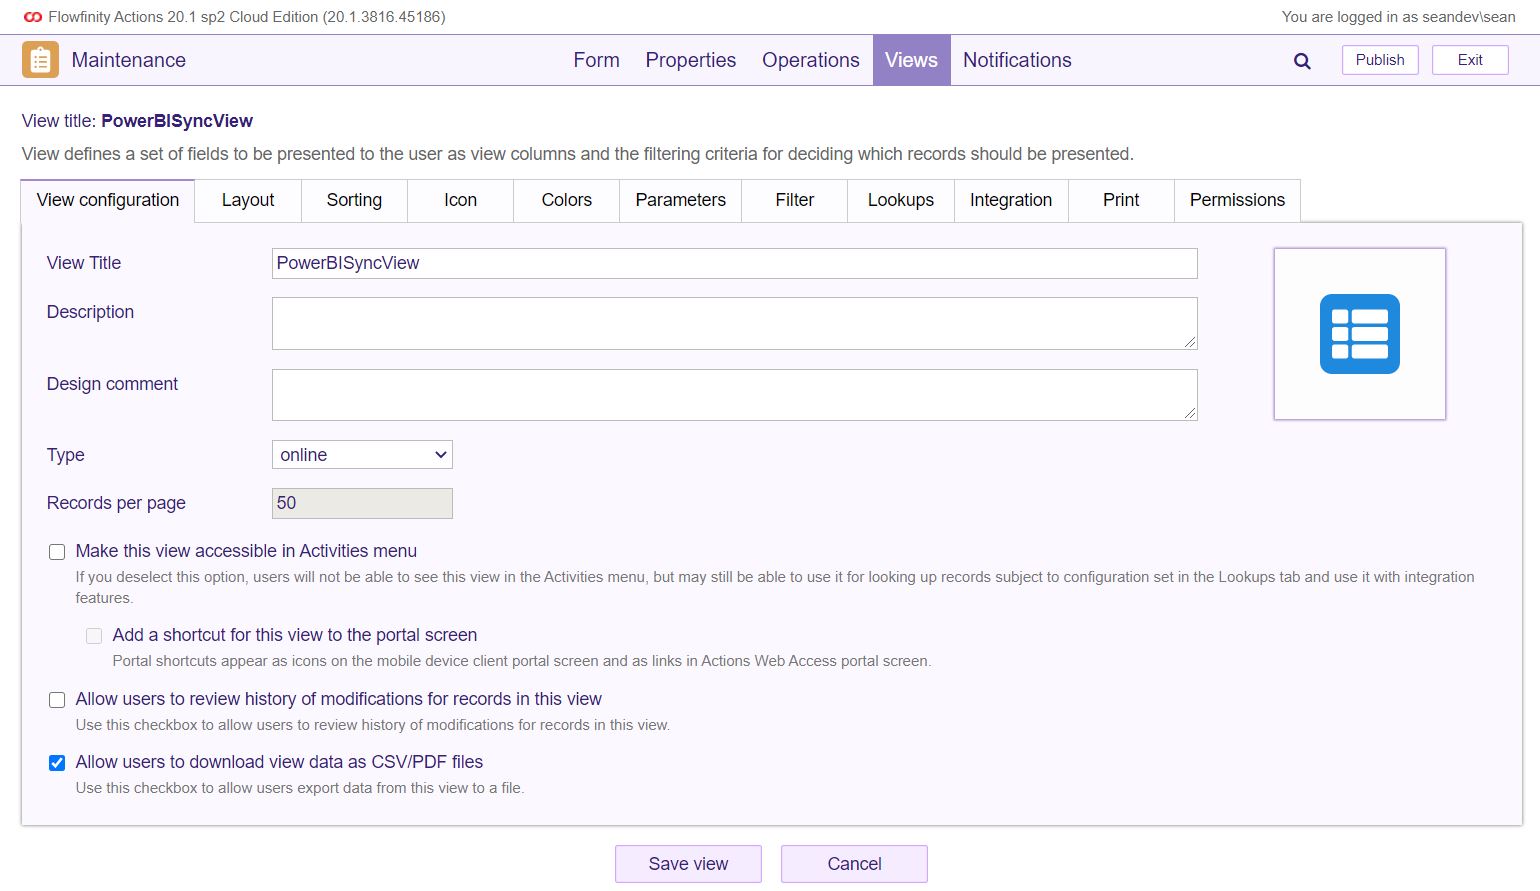
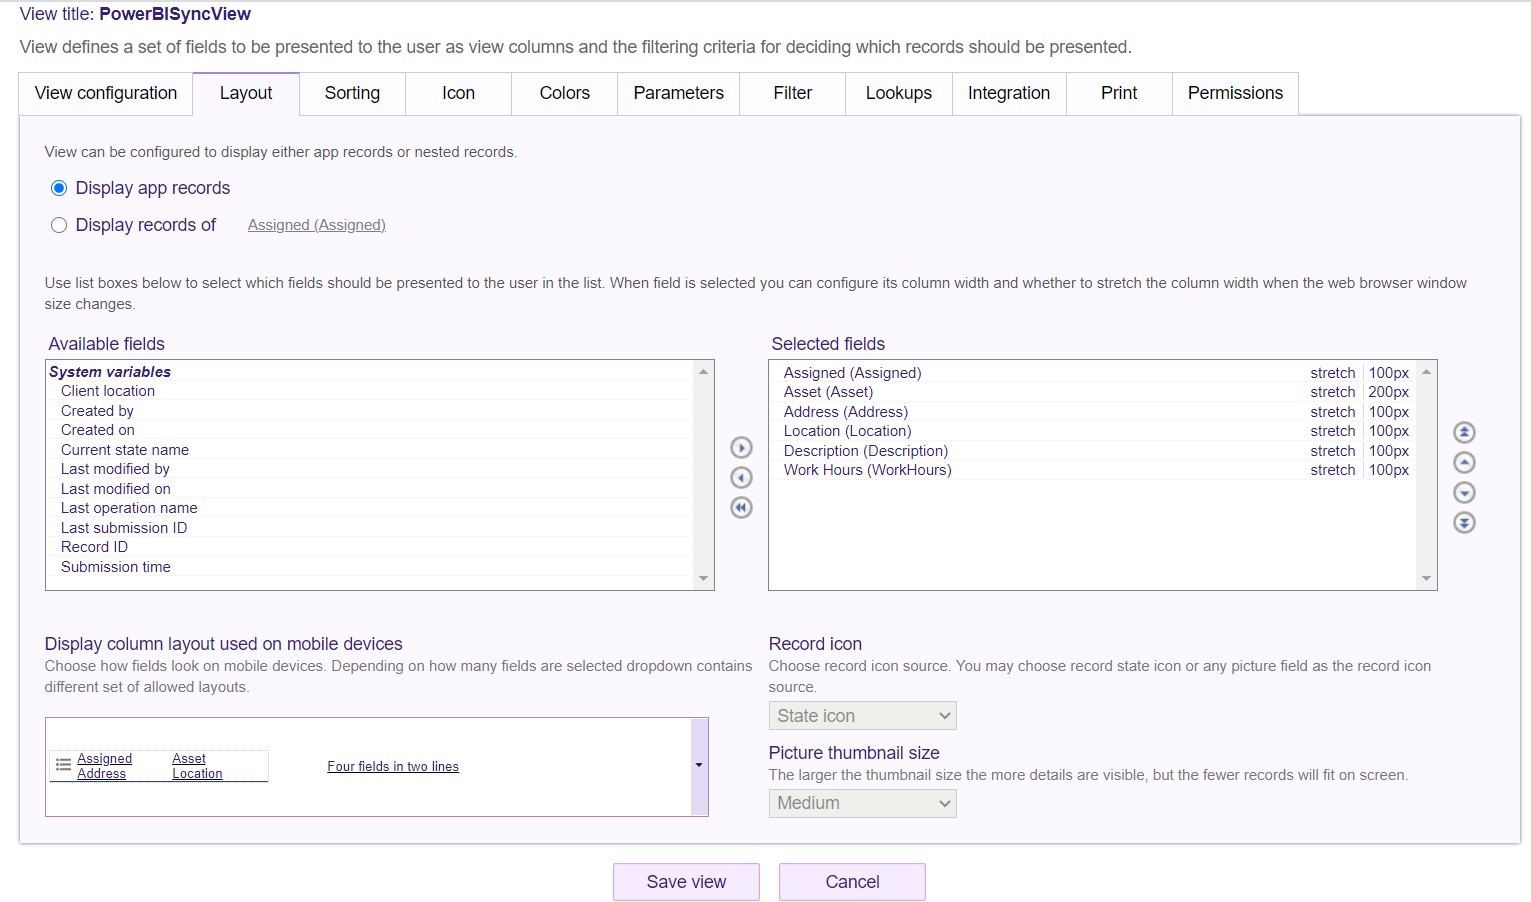
- In the Layout tab, select the appropriate fields and Save. Only fields selected in this step will be visible on Power BI site.
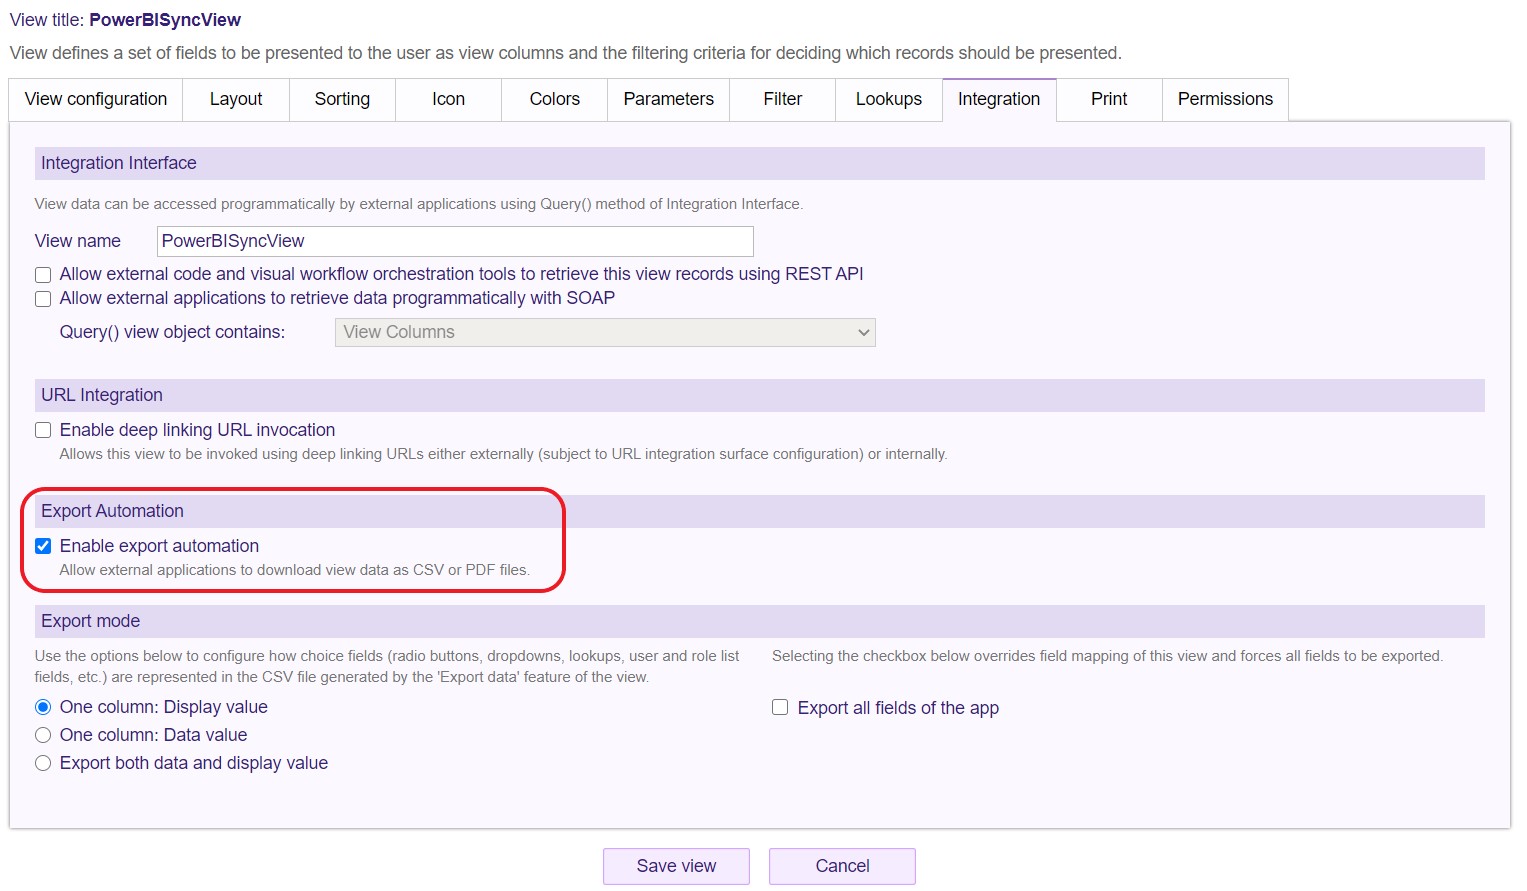
- In the Integration tab, ensure the 'Enable export automation' checkbox is selected. This will allow external applications, in this case, Power BI, to download the view as either a CSV or PDF file.
- Save the View and 'Publish' the app.
- The next step is to enable Export Automation for your server. This step differs for Self-Managed and Cloud deployments.
Cloud
- Cloud users should contact Flowfinity Support, requesting that the Export Automation Interface is enabled and wait to receive the Export Automation URL and credentials from the Flowfinity representative prior to proceeding to the next steps.
- Navigate to the Configure tab, select Integration, then select CSV Integration.
- Ensure the Surface Configuration 'Export' checkbox is selected.
- Ensure you have a Integration User Account created. Please contact Flowfinity Support for assistance if needed.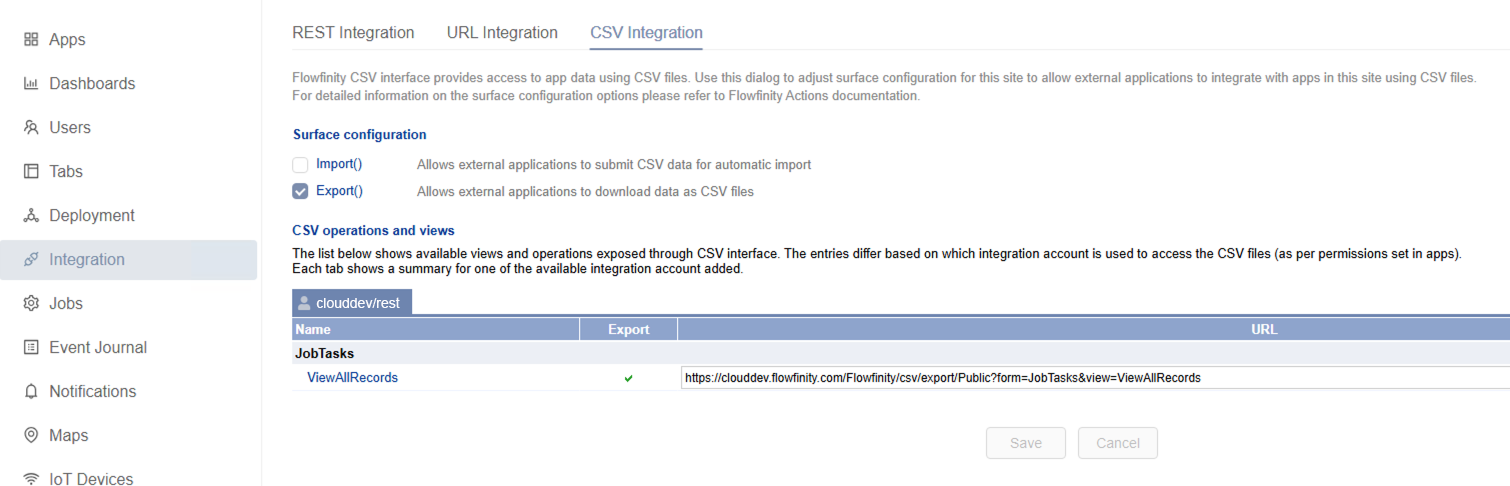 Self-Managed
- Navigate to the Configure tab, select Integration, then select Export Automation.
- Ensure the 'Enable export automation service' checkbox.
- Set desired credentials in the 'Export settings' section, including a user and password.
Note: The screenshot shown will only be visible to Self-Managed users. Cloud users will receive their credentials from Flowfinity Support.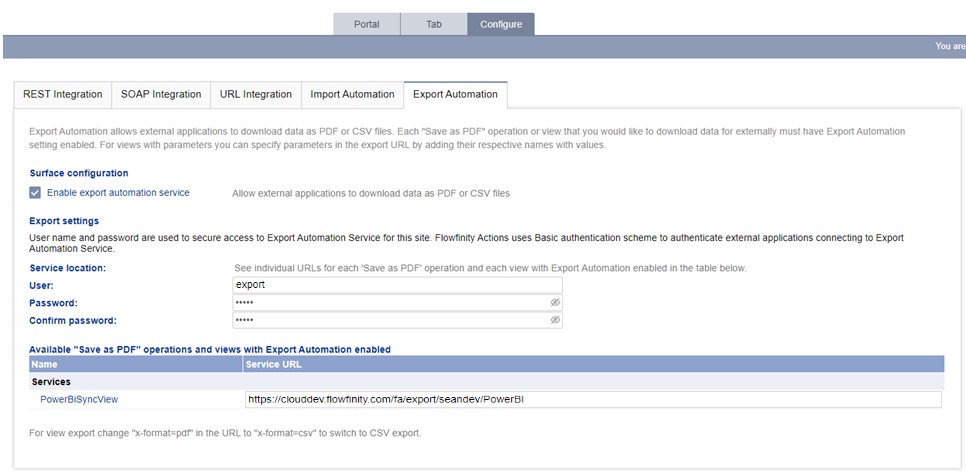


Instructions – Part 2: Power BI Desktop
Follow these steps to connect Flowfinity to Power BI. In this example we will use Power BI Desktop as this functionality is not available in of Power online access.
Note: You can download Power BI Desktop here.
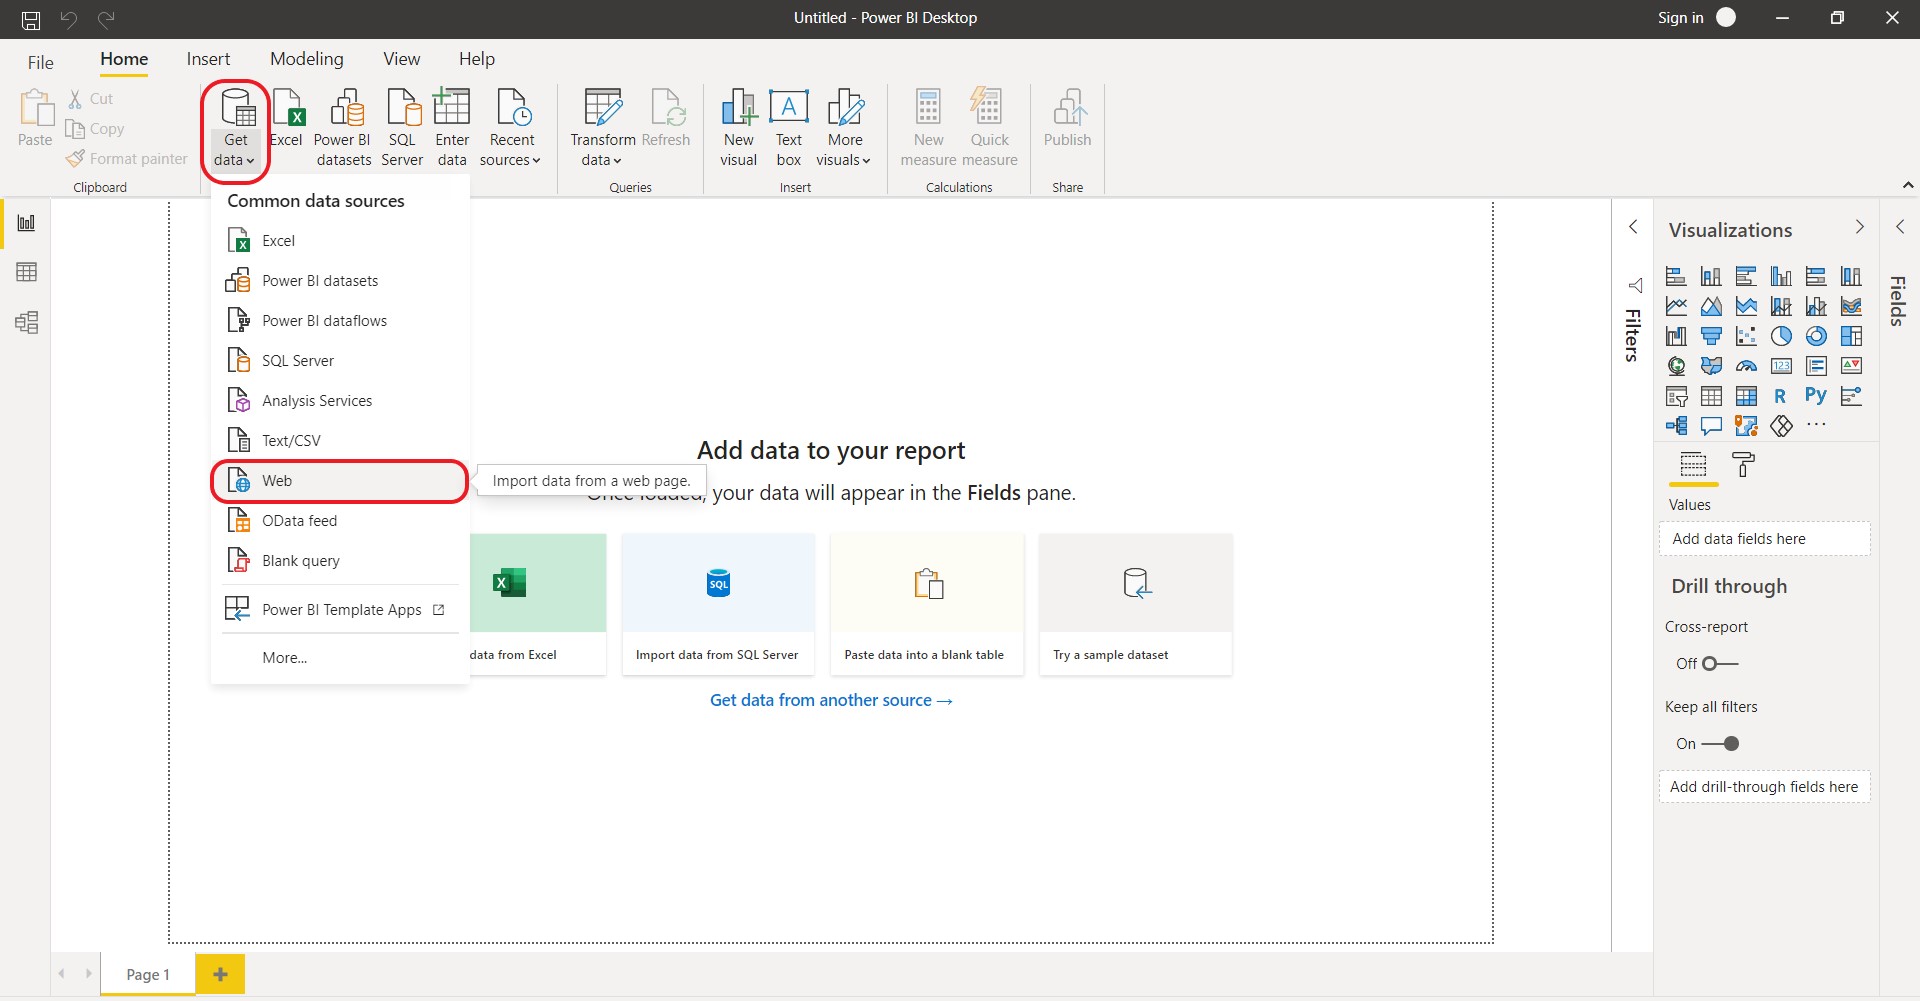
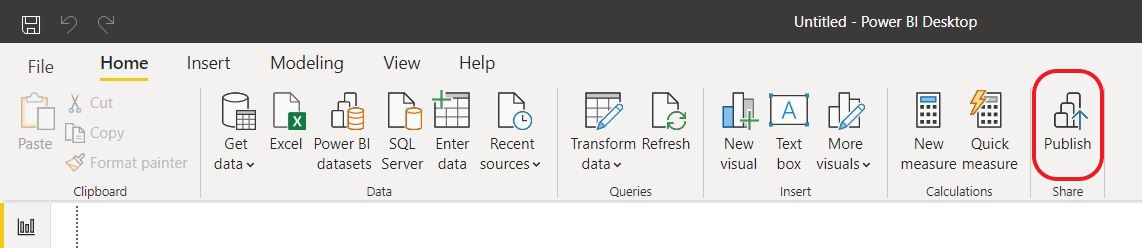
- Open Power BI Desktop.
- Select 'Get data' and choose 'Web' from the dropdown menu
- Copy the URL of the Export Automation enabled view and paste it into the URL field.
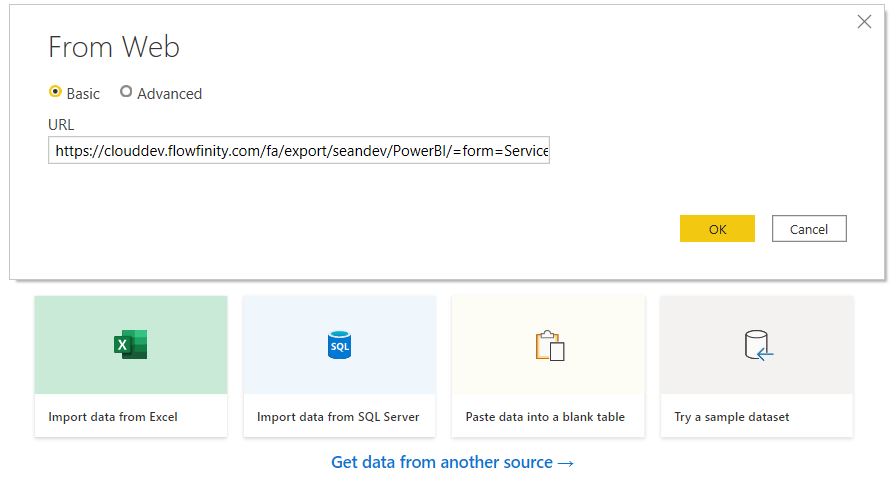
- Make sure to replace the PDF value of the x-format URL parameter with 'CSV' as this will ensure a CSV file is generated.
Example:
https://clouddev.flowfinity.com/fa/export/yourorganization/yoursite/?form=yourapp&view=PowerBISyncView&onBehalfOf=yourorganization\youraccount&x-format=csv
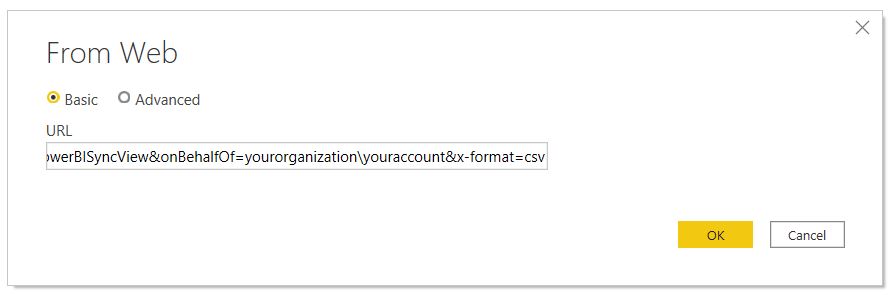
- Ensure that the account used in 'onBehalfOf' section of the URL has the appropriate permissions to access the View. Click 'Ok' to proceed.
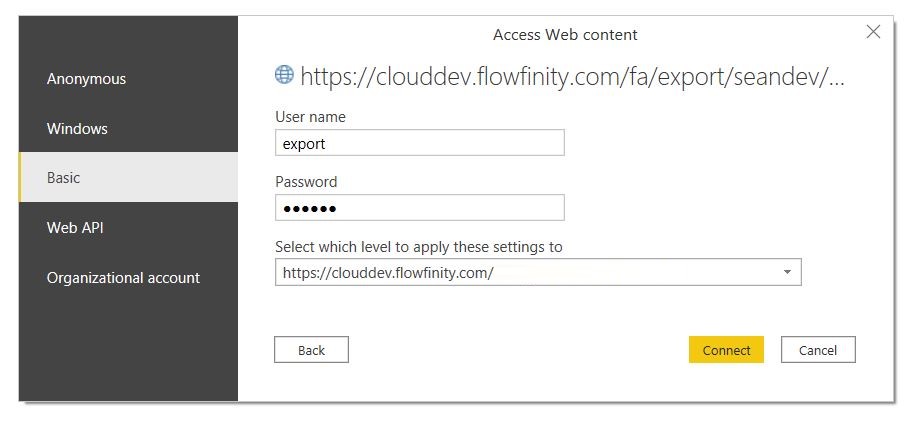
Note: You can check app and View permissions in the Flowfinity App Editor. - Select the 'Basic' tab, and enter the same credentials as in Part 1, Step 5. Then, click 'Connect.'
- Power BI will download the CSV and parse the records. This may take a few moments.
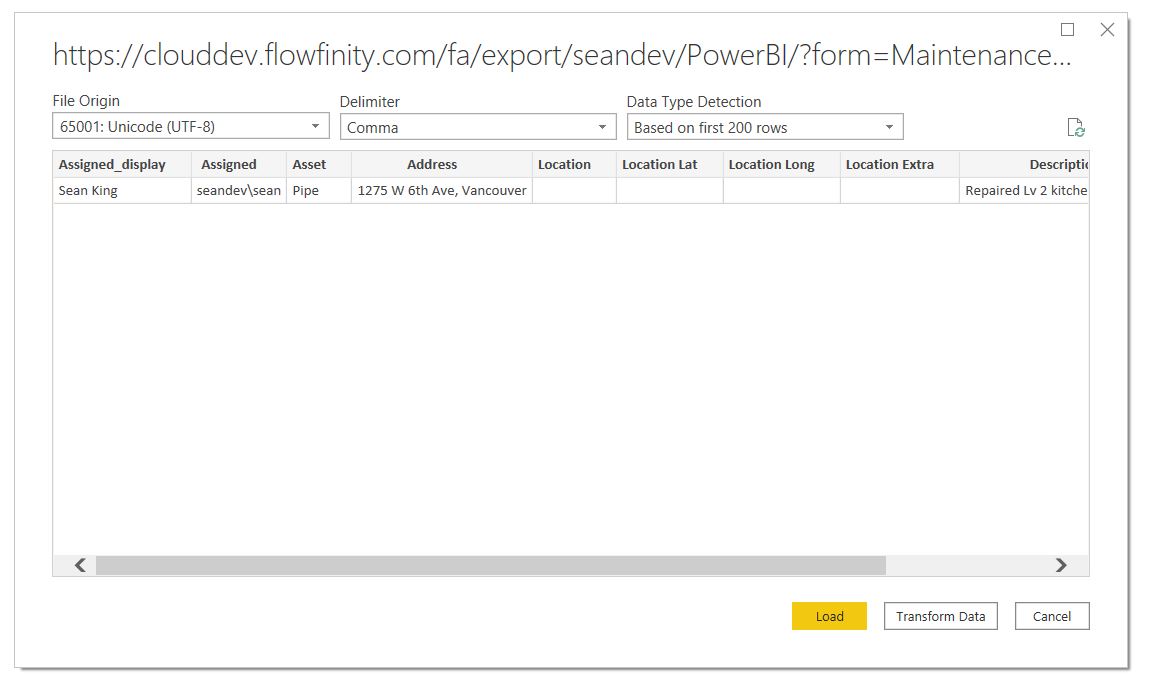
- Click 'Transform Data' and then click the 'Use first row as Headers' button. This will allow tell Power BI to treat the first row of the CSV file as the column names.
- Click 'Close & Apply' to confirm.
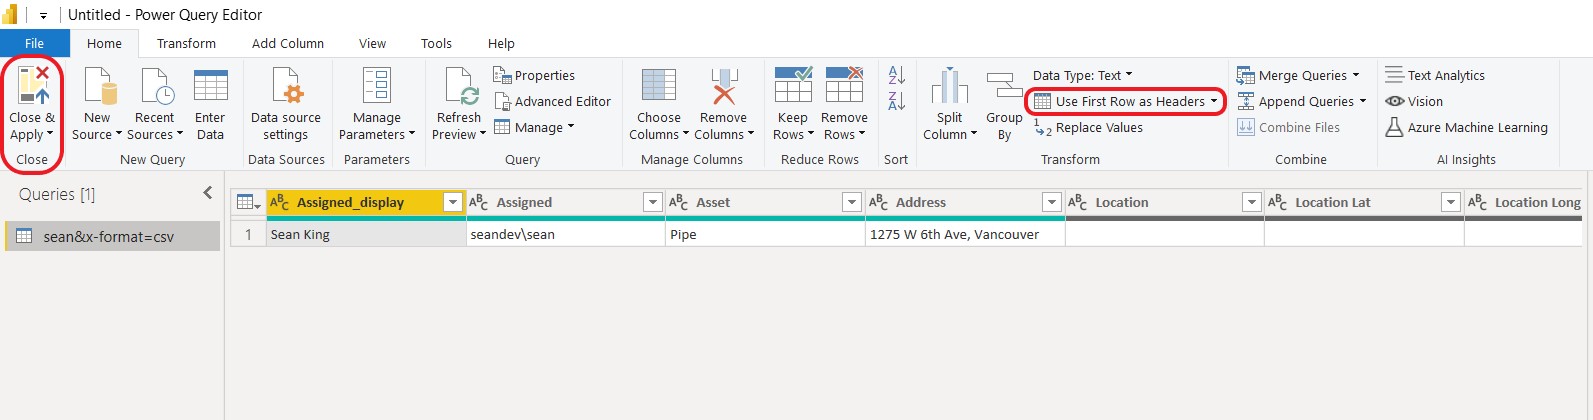
- The records from the Flowfinity Actions View are now available as a dataset in Power BI and you can now create reports and visualizations.
Note: for more details on Power BI, including how to create reports in Power BI Desktop, visit Microsoft Docs for detailed documentation. - Once you have completed your visualizations, click 'Publish.'


Instructions – Part 3: Configure a 'scheduled refresh' in Power BI service
Follow these steps to configure Power BI to perform a 'scheduled' refresh of your data. For this example, we will need to switch to the Power BI online service interface.
- When you published the report in Section 2, both your report and dataset were uploaded to your Power BI workspace automatically.
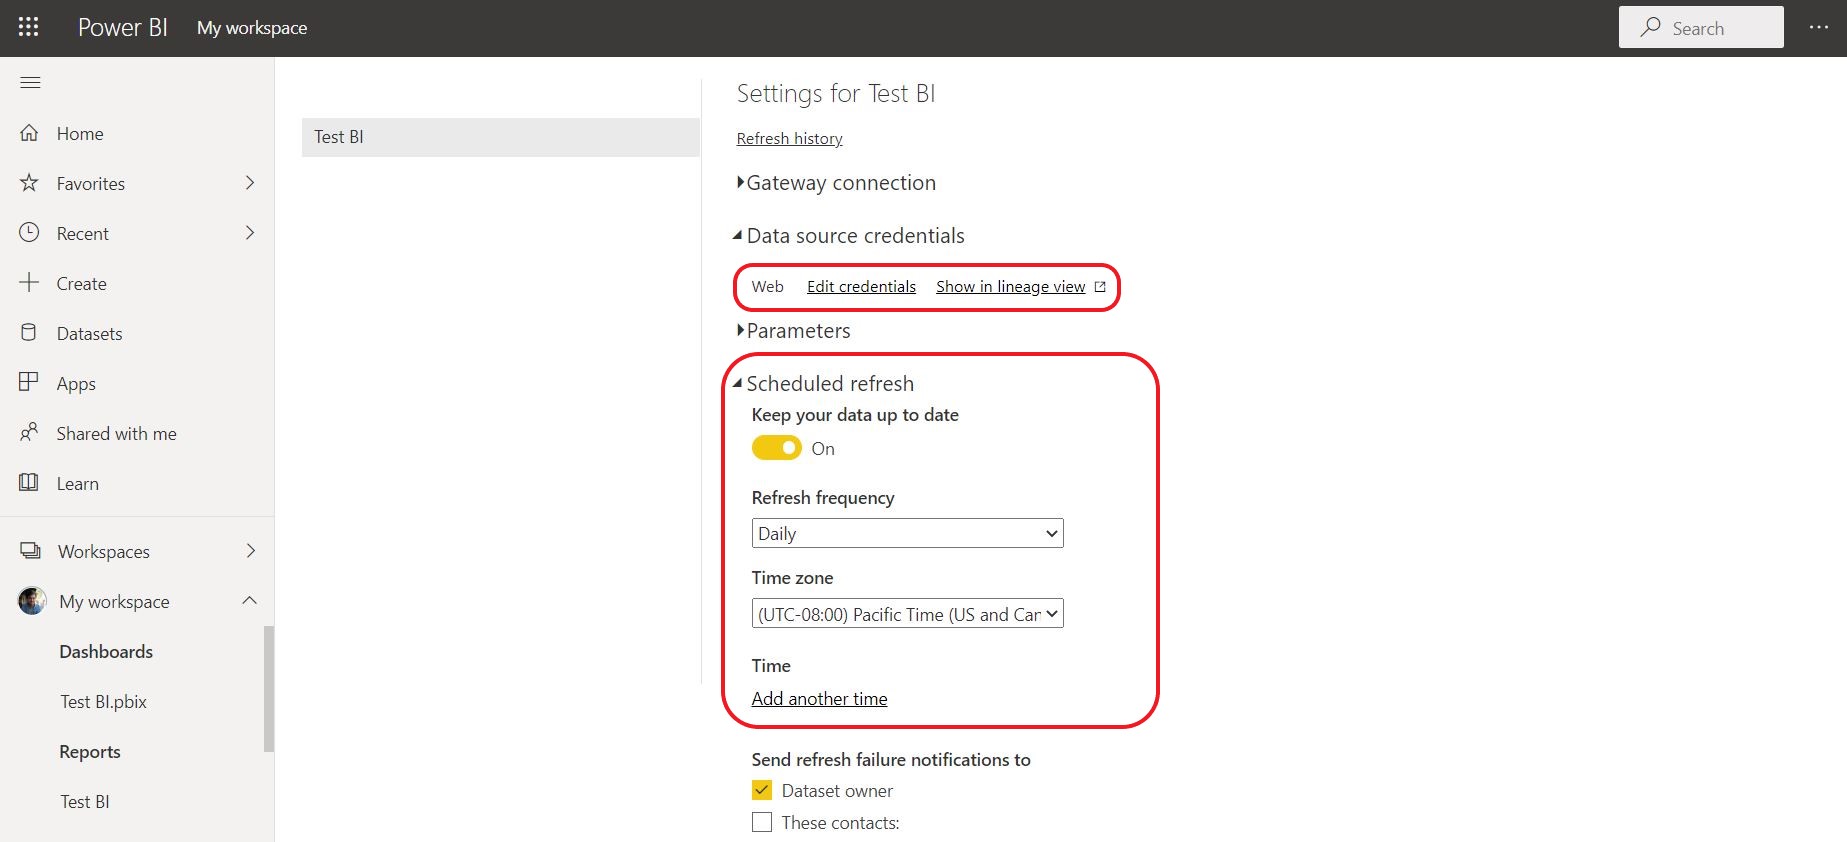
- Select 'Settings' and navigate to 'Datasets.'
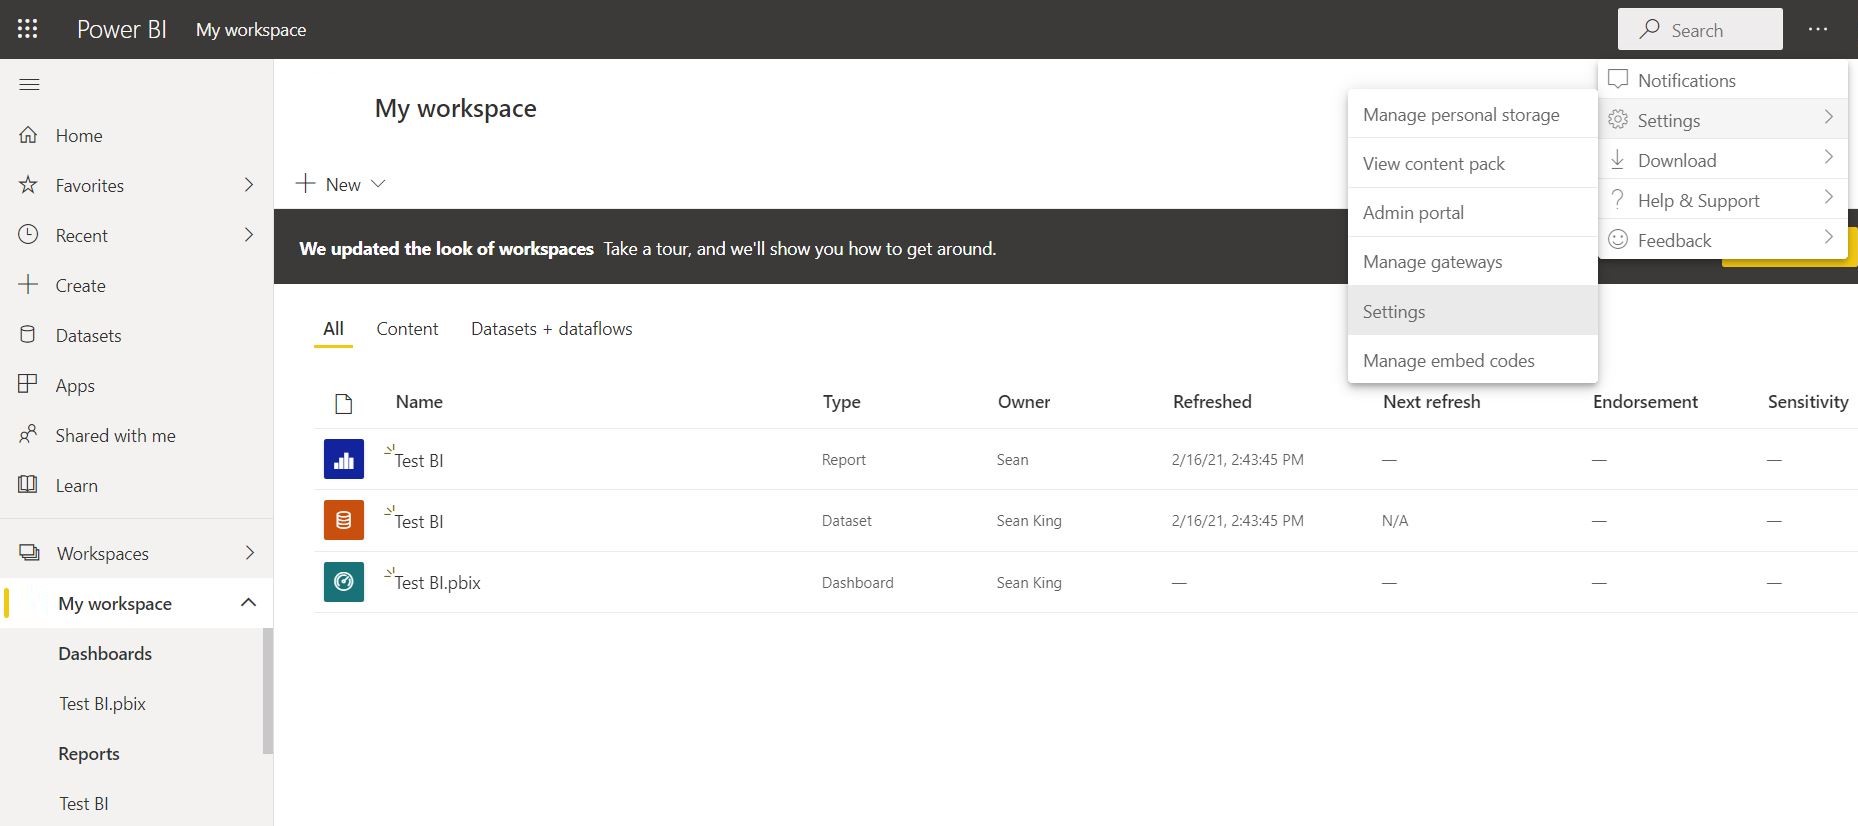
- Complete the 'Data source credentials' using the same credentials from Steps 4 - 6.
- Ensure 'scheduled refreshed' is enabled and complete the configuration as desired, including the frequency, time zone and scheduled time.